mmColorTarget – Nuke Gizmo
During the last few months I tried to figure out a way to match images using the MacBeth ColorChecker directly in Nuke. A similar functionality has been provided by HDRShop already but it’s always more convenient (and, of course, cheaper) to be able to stay within the same application. After a little research on the math, I’ve come up with a solution with this little gizmo called mmColorTarget.
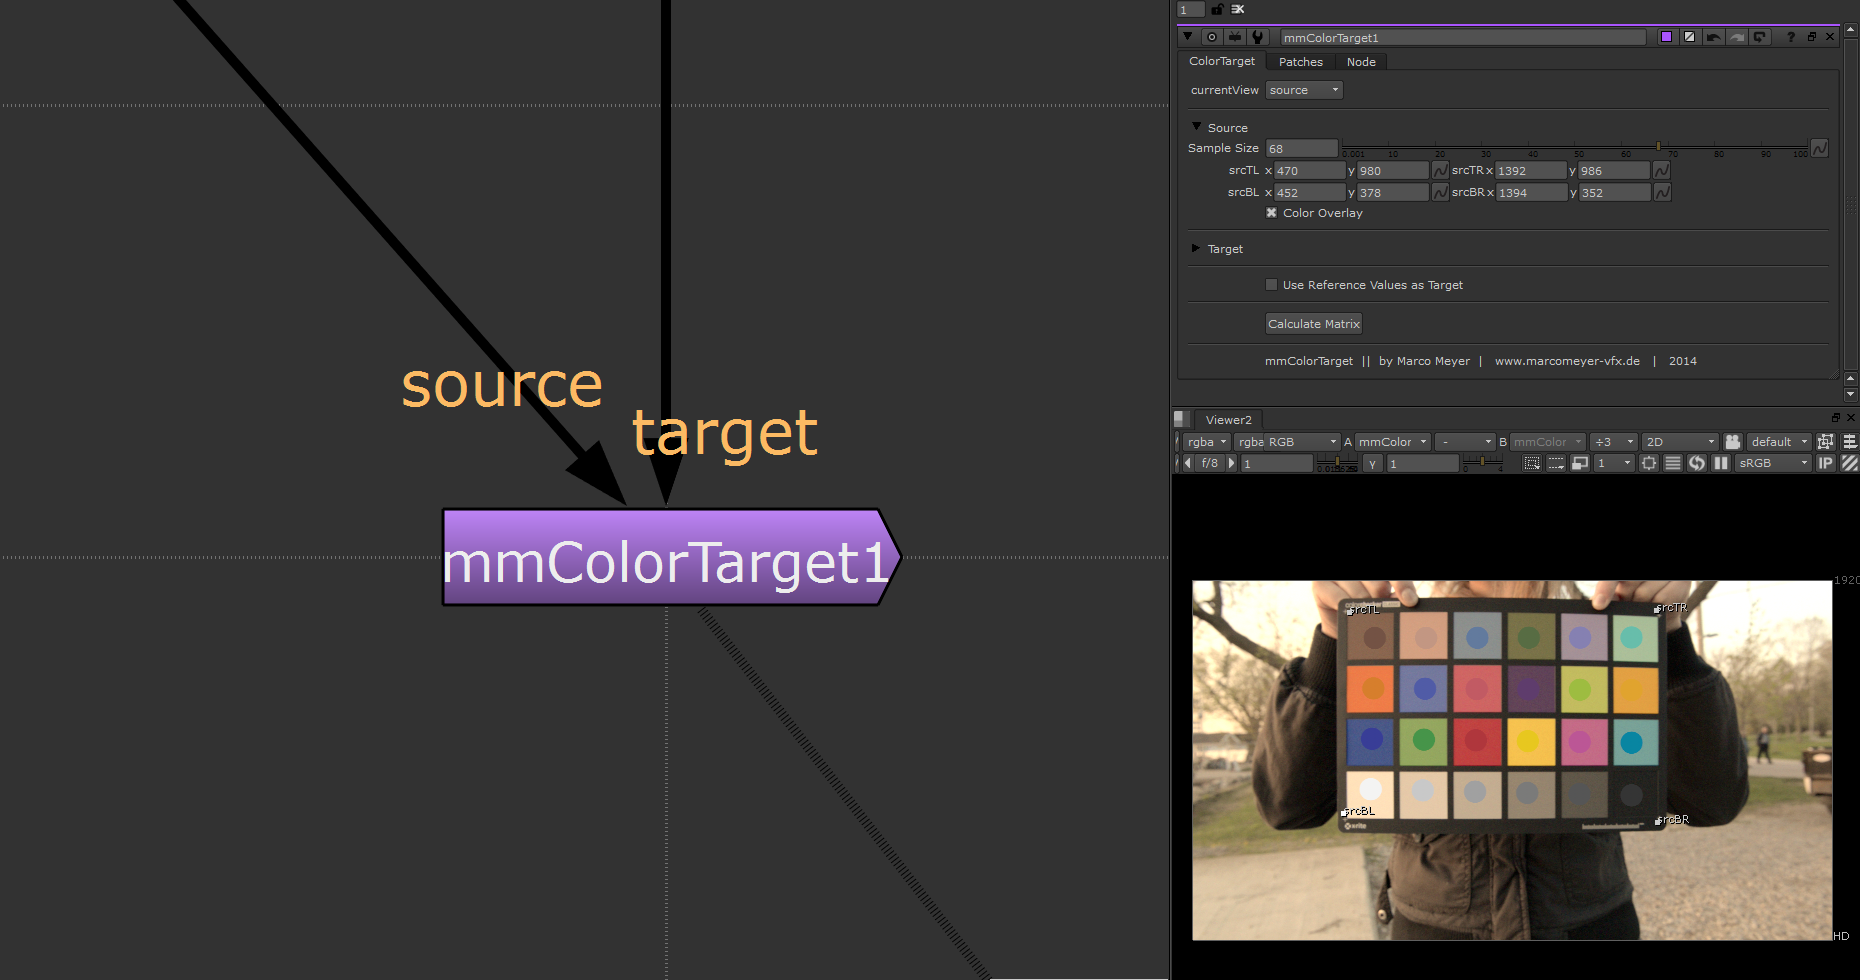
It has inputs for a source and target image and a multi sampler for each one of them. The sampler can easily be corner pinned to a still image of a MacBeth chart and it will sample all of the 24 patches at the same time. In the “Patches” tab you can also disable certain patches in case they are occulded in the image or if you just want to exclude them to tweak the calculation.
If you just want to “neutralize” the colors of the source image, you can check the “Use Reference Values as Target” checkbox. This will ignore the target input and use the neutral sRGB Values used by the MacBeth chart as target values.
As soon as everything is set up, hit the “Calculate Matrix” button and the gizmo will create a new ColorMatrix Node that approximates the source to the target values. You can also easily compare the effect of the gizmo by switching the current View to “compare”. This will show the source values looking through the target patches.
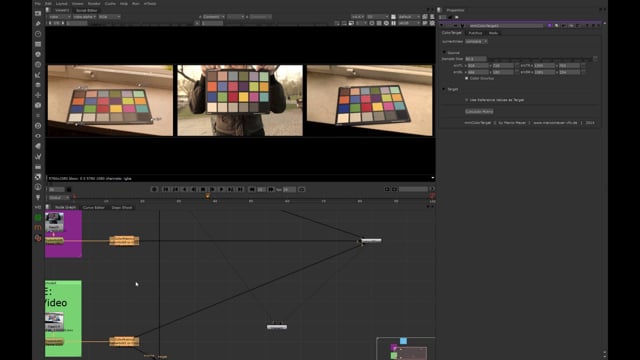
Here’s a quick demonstration (Watch on Vimeo):
Heavily color corrected material has probably gone through a lot of selective (and therefore non-linear) color changes, which makes it hard to match through a linear transformation. That’s why the gizmo works best on raw/unprocessed out-of-cam material.
Since it’s just an approximation, it does not work 100% and it fails occasionally, especially if the footage is way too messed up or ill exposed (so no reason to start being too lazy while shooting your images). In the most cases it does a pretty good job, though.
I hope you’ll find it useful!
Changelog
v3.1
- FIX: Chromatic adaptation was not performed. This caused the reference values to be slightly off for colorspaces with non-D65 whitepoints. An updated JSON file with additional data is provided that is required for this fix.
v3.0
- BREAKING: Using colorspace transforms to retrieve the reference values instead of the hardcoded patch values. This allows easier addition of future colorcharts by only adding their sRGB reference values. This change will deprecate the use of the
mmColorTarget_colorspaces.jsonfile and will start usingmmColorTarget_colorspace_transforms.jsoninstead. - Support for colorcharts:
- ColorChecker24 - Before November 2014 (ColorChecker2005)
- ColorChecker24 - After November 2014
- SpyderCHECKR 24
- ColorChecker Passport Video
- Python 3 support 🐍
- Added normalization option
v2.0
- More intutive UI with callbacks
- Fixed a problem introduced in Nuke 9.0v8 that broke the entire functionality
- The reference target now comes with a dynamic colorspace selection instead of fixed sRGB Values. (generously provided by Thomas Mansencal at colour-science.org
- Additional sampling method “no clip” (as suggested in the comments by Oleg Alexander, EXPERIMENTAL!)
- More stability due to no more expression-based-sampling in the background
Instructions Colorspaces
The gizmo now ships with an external JSON file, that contains the additional colorspaces. I kept them in an external file, so the gizmo is easier to update in case any new colorspaces of interest show up in the future.
So if that happens, colour-science.org is the place to go and find the tools to get them. Here’s a direct link where you will most likely find the most recently updated file (v2.0, v3.0+). Also here’s a Jupyter Notebook (v2.0, v3.0+) with a snippet to generate the data yourself.
You can place the file relative to any directory that is added to your nuke plugin path to get auto-detected by the Gizmo (easiest would be to just place it next to the .gizmo file), or just use an absolute path if you have a special pipeline setup going on (Environment Variables will also be resolved).
If no file is detected, the Gizmo will fallback to sRGB as the only colorspace that’s still internally included.
With this new feature you can also generate presets from sampled values and put them in a custom json file, if you have some frequently used target values to match your plates or HDRs to. Just stick to the layout of the included colorspace file to make sure it can be read properly. By the way, the sampled values are printed to Nuke’s output window every time you calculate a matrix, and can be copied from there. Be aware, that only sampled values from all 24-patches using “direct” sampling are eligible to create presets.
Known Issues
- Sometimes the resulting ColorMatrix will still have all-zero values. If that happens, just delete the faulty ColorMatrix and try it again. If a second attempt still doesn’t work, try switching the current view knob in the gizmo back and forth. It just seems to be an update problem inside Nuke, so it should work eventually. In v3.0 I’ve added a popup message that will provide some solutions in case it happens.
Installation
Unfortunately the gizmo does not work out of the box, there’s some additional setup required.
You will need to have the Python module “NumPy” installed and compatible with Nuke’s Python version (Nuke 8-12: Python 2.7; Nuke 13: Python 3.7).
The difficult part here is: In order be Nuke-compatible, the NumPy modules should be compiled with a certain compiler version, which you can lookup in the NDK Developers Guide - Appendix A of your Nuke version.
Both Nuke and Houdini roughly follow the VFX Reference Platform. So a good starting point when looking for a compatible version of NumPy is installing a version of Houdini that closely matches the CY20XX target of Nuke. There you can look for the
numpyfolder inside of{houdini_install}/python/lib/python3.7/site-packages.
Quick test: Type import numpy in the nuke script editor, if it doesn’t return any errors you’re good to go.
- Windows: The available binaries for NumPy are mostly not compiled against VS2010. However I have found a version on CGTalk that I can confirm works at least with Nuke 8-10 (credit goes to skuzee, thanks for compiling & sharing): Download here.
- Linux: Check your repositories, NumPy should be available at least for the native python version of your distribution. Starting with Nuke 13, you can even run
pipfrom your Nuke directory to get the compatible numpy for nuke’s python (for example via./pip3 install --user numpy) - Mac: Not a Mac user, but you can check out this video for an example installation.
Tested successfully on Windows 7/10 (Nuke 7-9) and CentOS 6/7/8 (Nuke 7-13)
Download (via nukepedia)
(last modified on 06.06.2021)
PayPal
Thanks! 🙏